-
Step 6 · Attach First Panel Next to Door
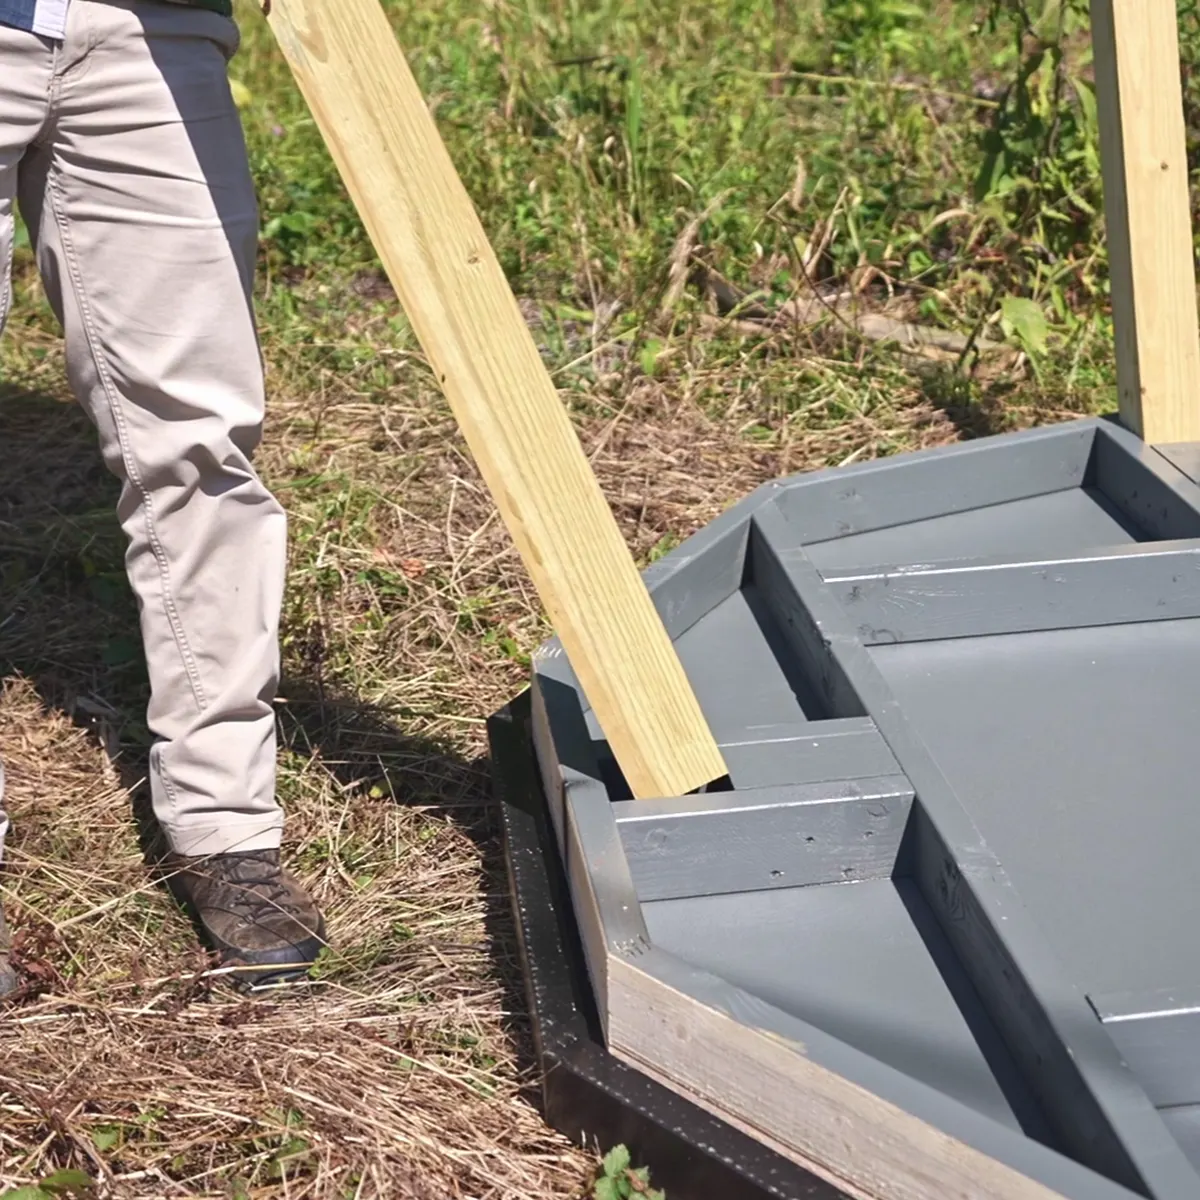
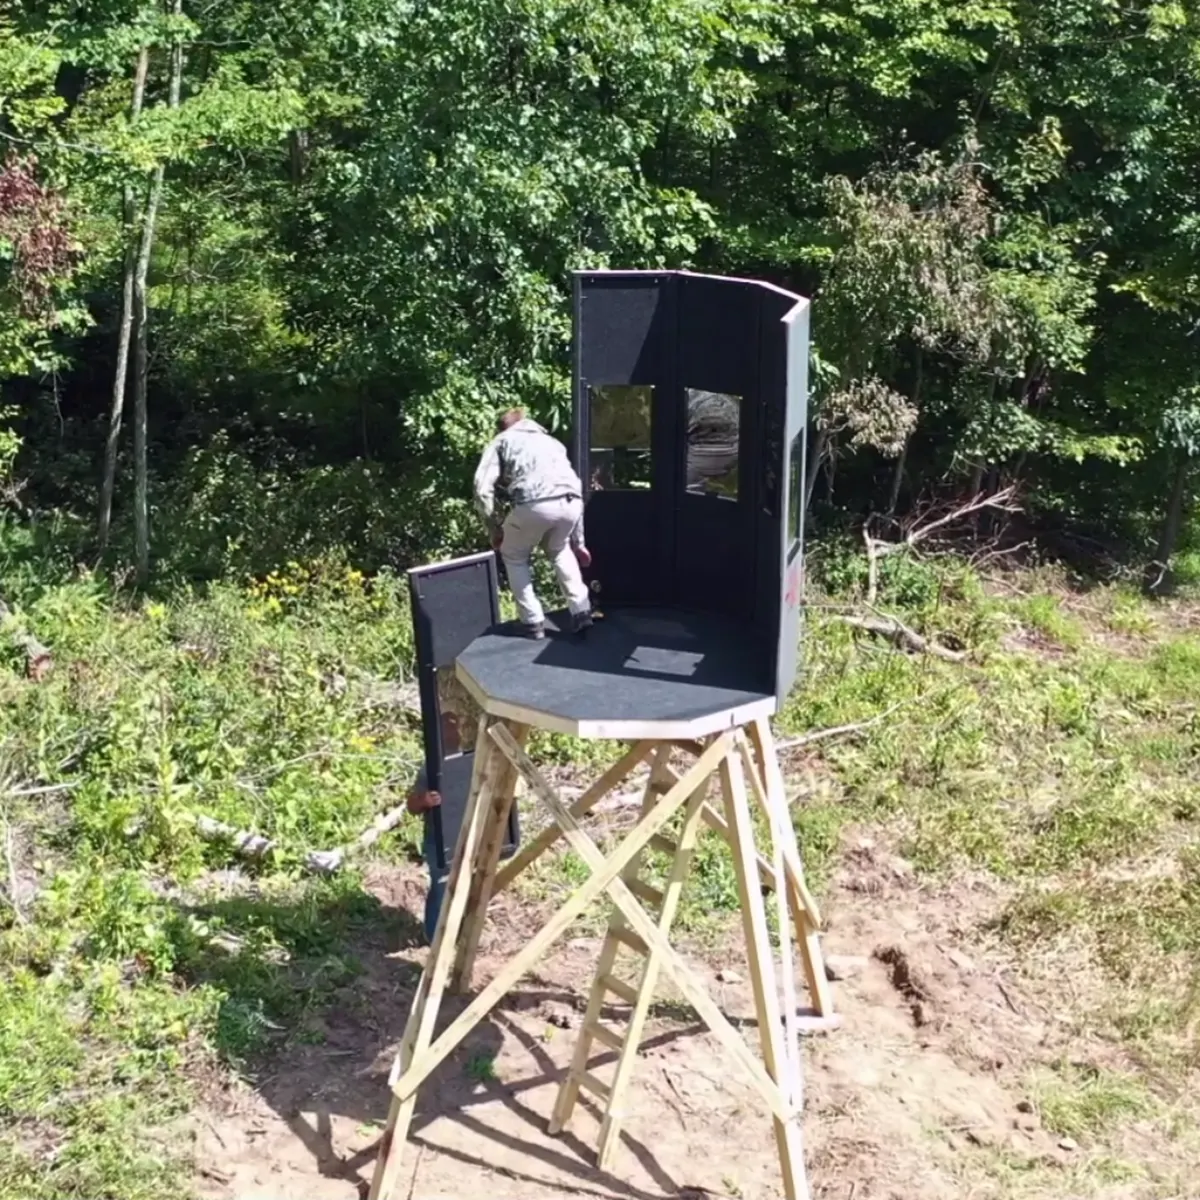
Attach the first panel to the floor. If you are assembling a side entry blind, start out with the panel next to the door panel, so that your last and final panel is the door.
-
Step 7 · Center Framing on Floor
Make sure the framing of the wall panel is centered on the framing of the floor. The floor framing is slightly larger than the framing of the wall panel, so it is important to start with this space evenly divided. Once centered, attach both floor screws.
-
Step 8 · Align Tops & Outside Corners
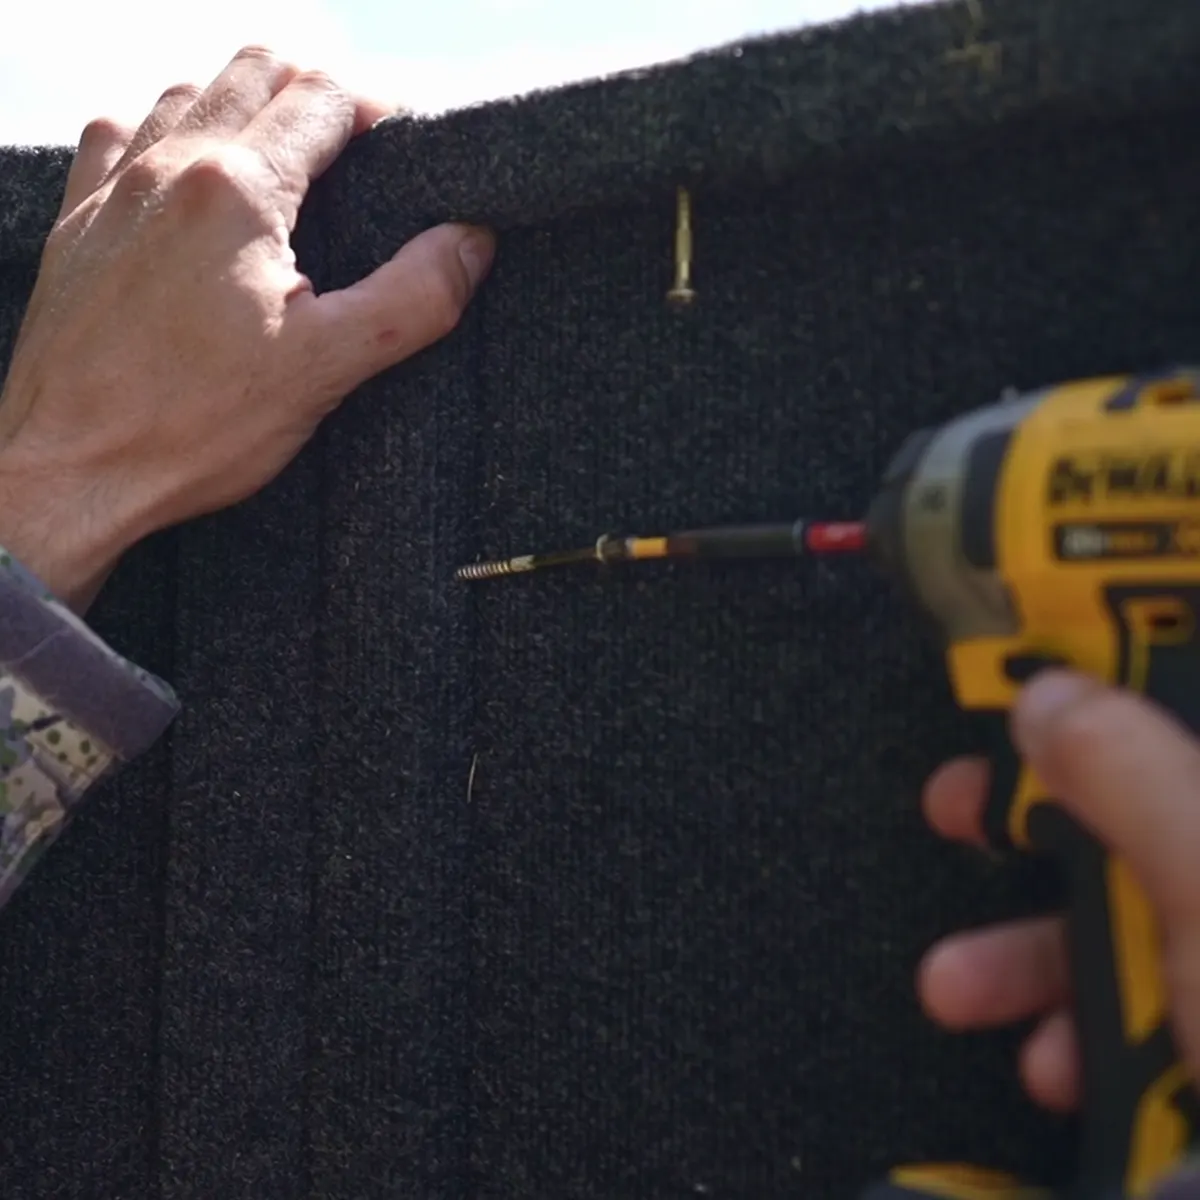
Continue adding wall panels by first aligning the tops of the two panels, and also the outside corners. Fasten the top wall screw, making sure that the outside corners (at the top of the panels) are nicely aligned.
-
Step 9 · Set Leading Edge 1/16" Back
Once the top screw is in place, place the leading edge of the panel (angled piece of framing) approximately 1/16" back from the outside corner of the floor framing. With the leading edge placed, and pulled in against the floor framing, attach the leading edge floor screw.
-
Step 10 · Fasten Remaining Floor & Window Screws
With the top and leading edge fastened together, make sure the bottom of the panel is pulled in against the floor, and fasten remaining floor screw. Next, align the outside corners at the top and bottom of the windows and attach the remaining two screws.
-
Step 11 · Install Panels & Stage Roof
Attach remaining panels, using Steps 8 – 10. Important: Before installing the last two panels, place the roof on top of the blind.
-
Step 12 · Install Last Two Panels & Door
With the roof on top of the blind, but behind where the remaining two panels will go, install the last of the panels. If you are installing a side door, add 4 screws on the left-hand side of the door.
-
Step 13 · Align Opposite Roof Corners
Attach the roof. Starting at one outside corner, align the inside corner of the roof lip with the outside corner of two panels, pushing the panels out against the lip of the roof. Once aligned, attach this corner with a single roof screw. Next, go to the opposite corner and repeat.
-
Step 14 · Fasten Remaining Roof Screws
Once the two opposite corners of the roof have been attached, go around and fasten the remaining roof screws, making sure you push each corner out against the lip of the roof. Having a small gap is not uncommon, and is completely fine.
-
Step 15 · Attach Exterior Corner Trims
Attach the corner trims. Using the supplied small black zip screws, attach the corner trims (screw both sides of the trim) to the side of the blind. Place screws approximately 6" from the top and bottom of the trims, and also even with the top and bottom of the windows.
-
Step 16 · Install Lockable Door Latch
Install the lockable door latch (Side Entry Blinds). Make sure that the exterior handle is in the downward position when the door is latched. This will prevent animals from accidentally unlatching the door if left unlocked.
-
Step 17 · Adjust Window Sash Tension
The final step is to add tension to the windows. Screw the nylon thumb screws into the threaded brackets at the top of each window. Tighten until there is just enough tension to prevent the window from closing on its own. This may need some additional adjustment throughout the seasons as temperatures change.