Home/Assembly & Support

Blind & Tower Assembly.

Official factory manuals, video tutorials, and field guidance for building your blind, bolting our aluminum tower, or building a DIY wooden tower with built-in post pockets.

Official Documentation

Assembly Manuals.

Download the full illustrated factory manuals or watch the step-by-step video tutorials below.

● Official Factory Manual & Video
NXTGen Blind Assembly Schematic

NXTGen Blind Assembly Manual

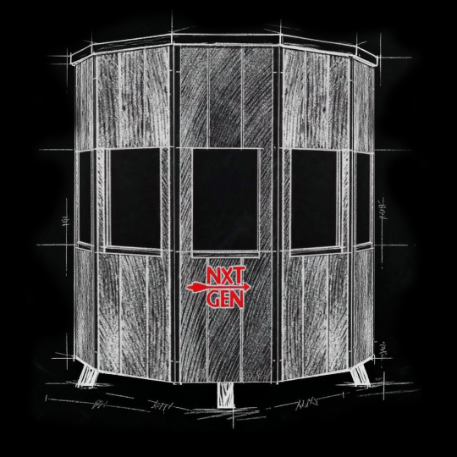
Complete step-by-step instructions for uncrating and assembling the 5', 6', and 7' octagon blinds. Covers leveling the base, locating pre-started screws, wall panel alignment, window sash installation, and sealing the commercial PVC roof deck.

  • FormatPDF Document (Illustrated Guide)
  • VideoFull Step-by-Step Walkthrough
  • Covers5', 6', 7' Classic & Deluxe Blinds
  • ToolsImpact driver, star/square bits, level
● Official Factory Manual & Video
NXTGen Aluminum Tower

Aluminum Tower Assembly Manual

Official assembly manual for the factory bolt-together heavy-gauge aluminum tower. Details leg brackets, diagonal cross-braces, ladder segments, safety platform assembly, and mounting the blind floor frame.

  • FormatPDF Document (Hardware & Torque Specs)
  • VideoAluminum Tower Assembly Video
  • Covers5', 6', and 7' Tower Framework
  • ToolsSocket set, open-end wrenches
Video Guides

Watch the sequence.

See every step demonstrated before you head out to the woods.

Blind Setup Tutorial

NXTGen Hunting Blinds Setup Tutorial

Step-by-step video demonstration of uncrating, panel positioning, driving pre-started screws, and completing the roof seal in a single afternoon.

Tower Assembly Tutorial

Aluminum Tower Assembly Walkthrough

Full bolt-together walkthrough showing leg frame assembly, cross-brace attachment, ladder positioning, and securing the floor platform.

Tower & Foundation Options

Three ways up.

Every floor ships with 4×4 post pockets, so you can build your own wooden tower for $0, or choose our factory aluminum tower or trailer kit.

Basic Wooden Tower Post Pockets
DIY Foundation · Build Your Own (or purchase from dealer)

Basic Wooden Tower

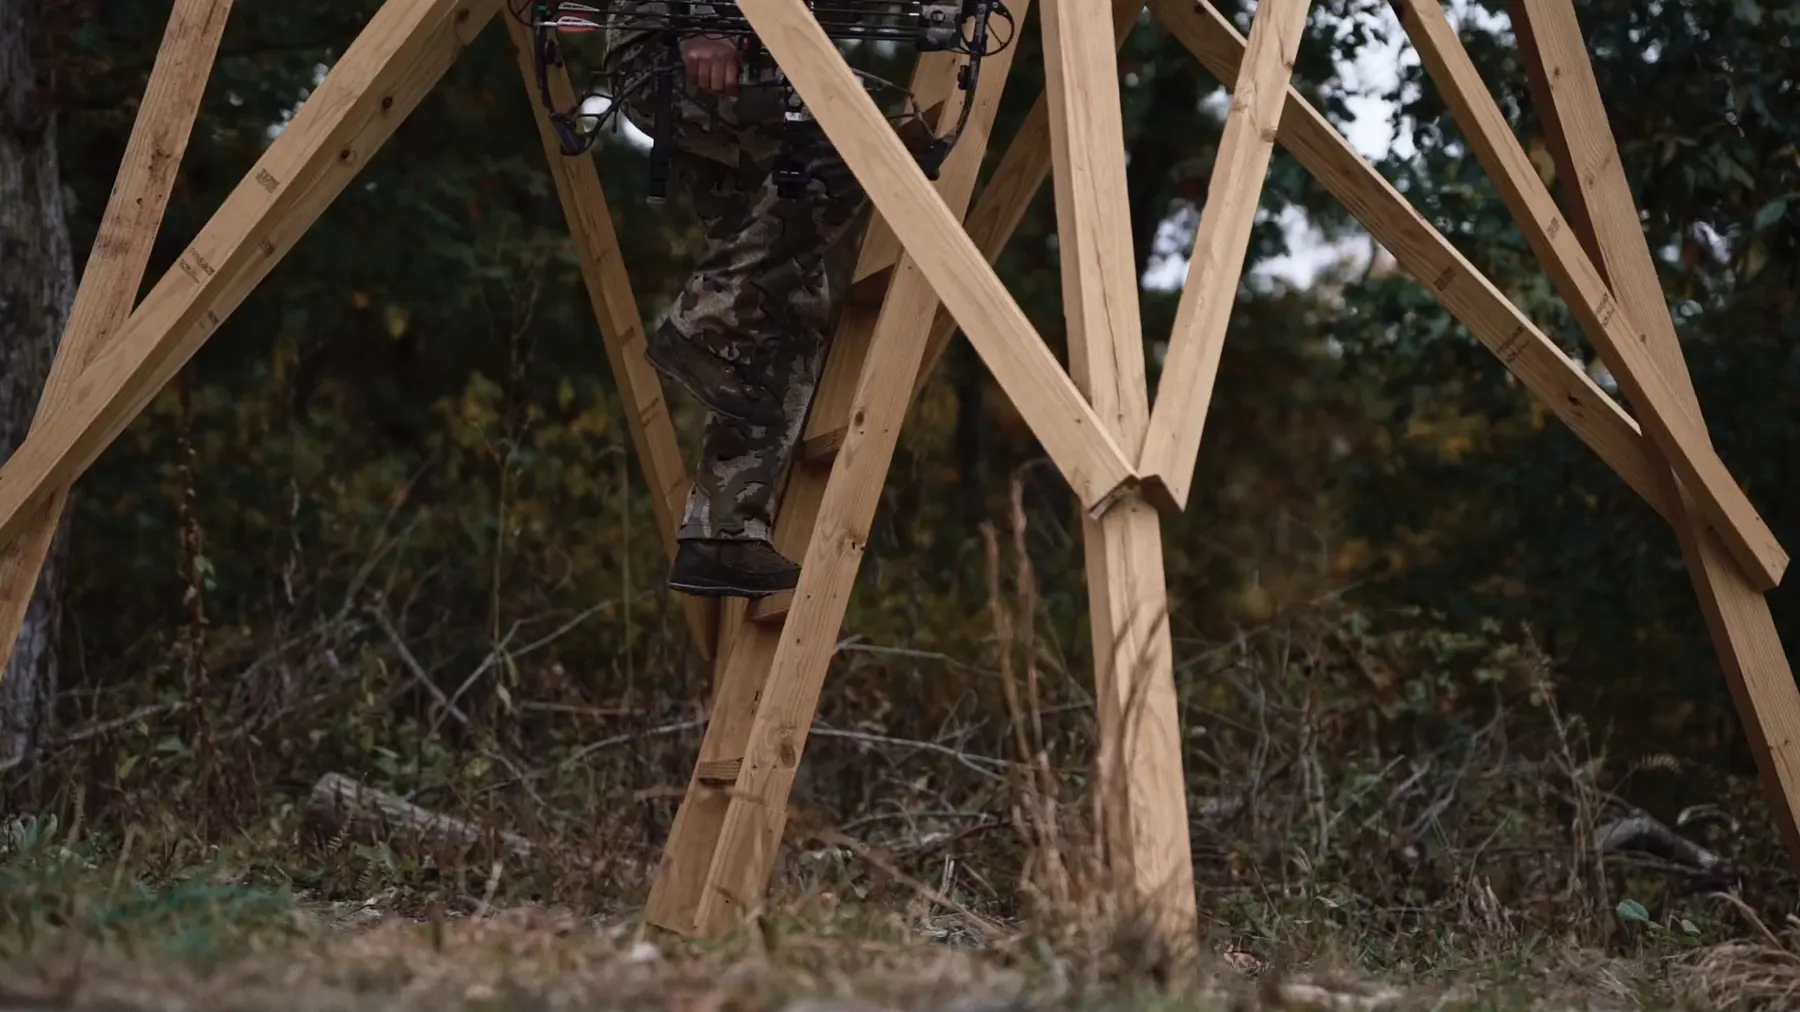
Every floor ships with four 4×4 post pockets. Buy standard pressure-treated lumber locally down the road, drop legs straight into the pockets, level the floor, and cross-brace. No freight charges and 100% custom height.

  • Post pocketsFour 4×4 pockets in floor
  • LumberStandard 4×4 posts + 2×4 bracing
  • HeightAny height (5', 8', 10', 12'+)
  • Hardware3" exterior structural screws/lags
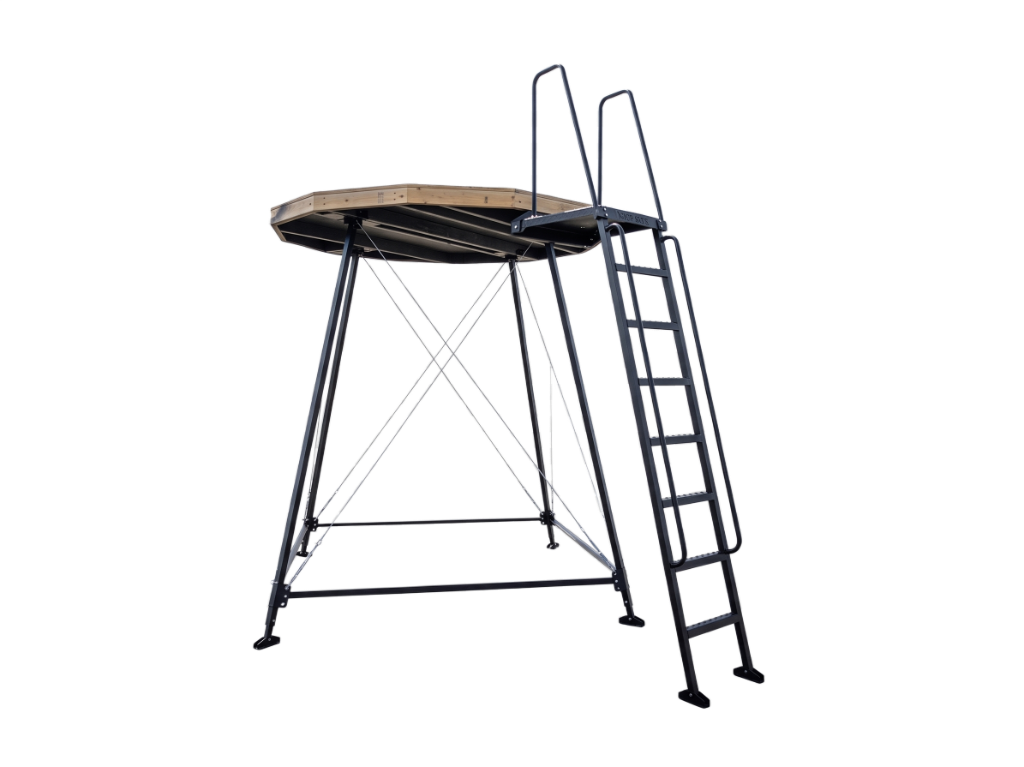
Aluminum Tower
Factory Elevation · Bolt-Together

Aluminum Tower

Bolt-together heavy-gauge aluminum tower sized to the blind it carries, with ladder and top platform. Goes up with hand tools, never rots, and never needs to be re-tightened every August.

  • Fits5, 6 and 7 Foot Blinds
  • MaterialHeavy-gauge aluminum
  • EntryLadder to platform & floor hatch
  • ShippingShips flat, lower 48
5' Trailer Kit w/5' Tower
Mobility · 5' Blind Compatible

5' Trailer / Tower Kit

The 5 Foot blind mounted on a heavy-duty towable chassis frame with integrated 5' tower elevation. Move the whole blind with a quad or truck when food plots rotate or wind turns.

  • Fits5 Foot Blind
  • MovesTowable chassis with hitch
  • Tower5' integrated elevation
  • Best forPlots, field edges, leased ground
Part 1 · Tower Attachment

Tower Attachment.
Steps 1 through 5.

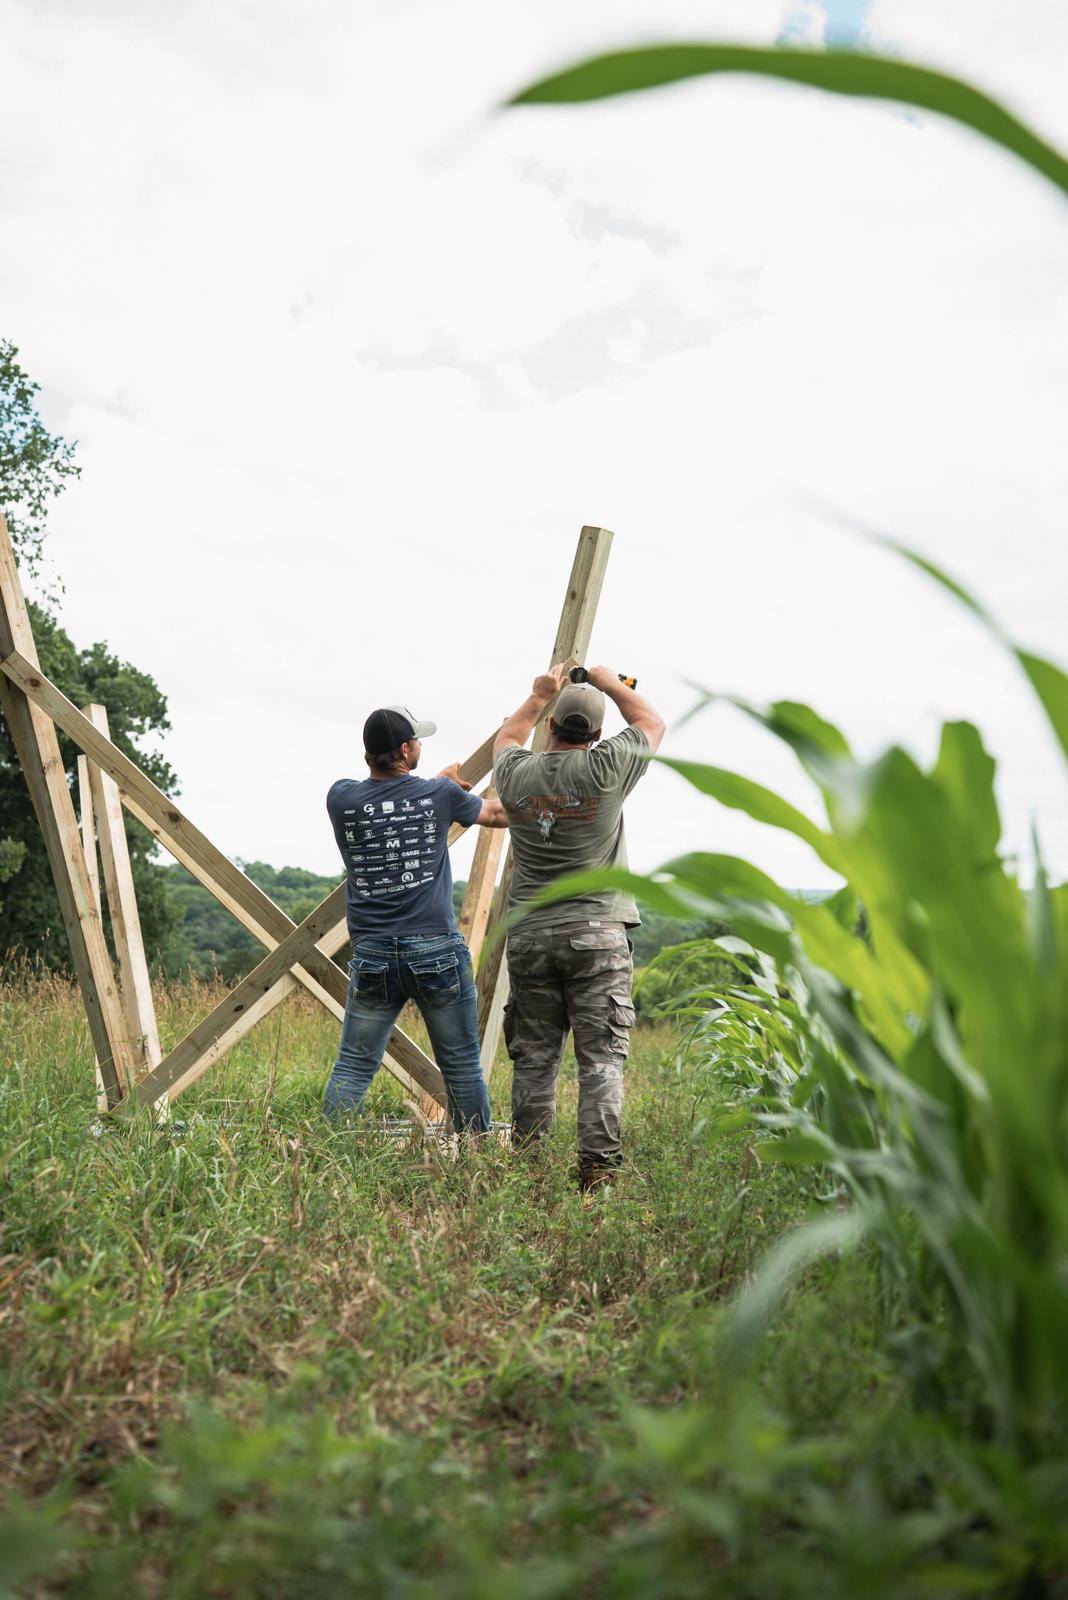
Every floor ships with 4×4 post pockets. Build your tower foundation using standard pressure-treated lumber and the supplied 4" lag screws.

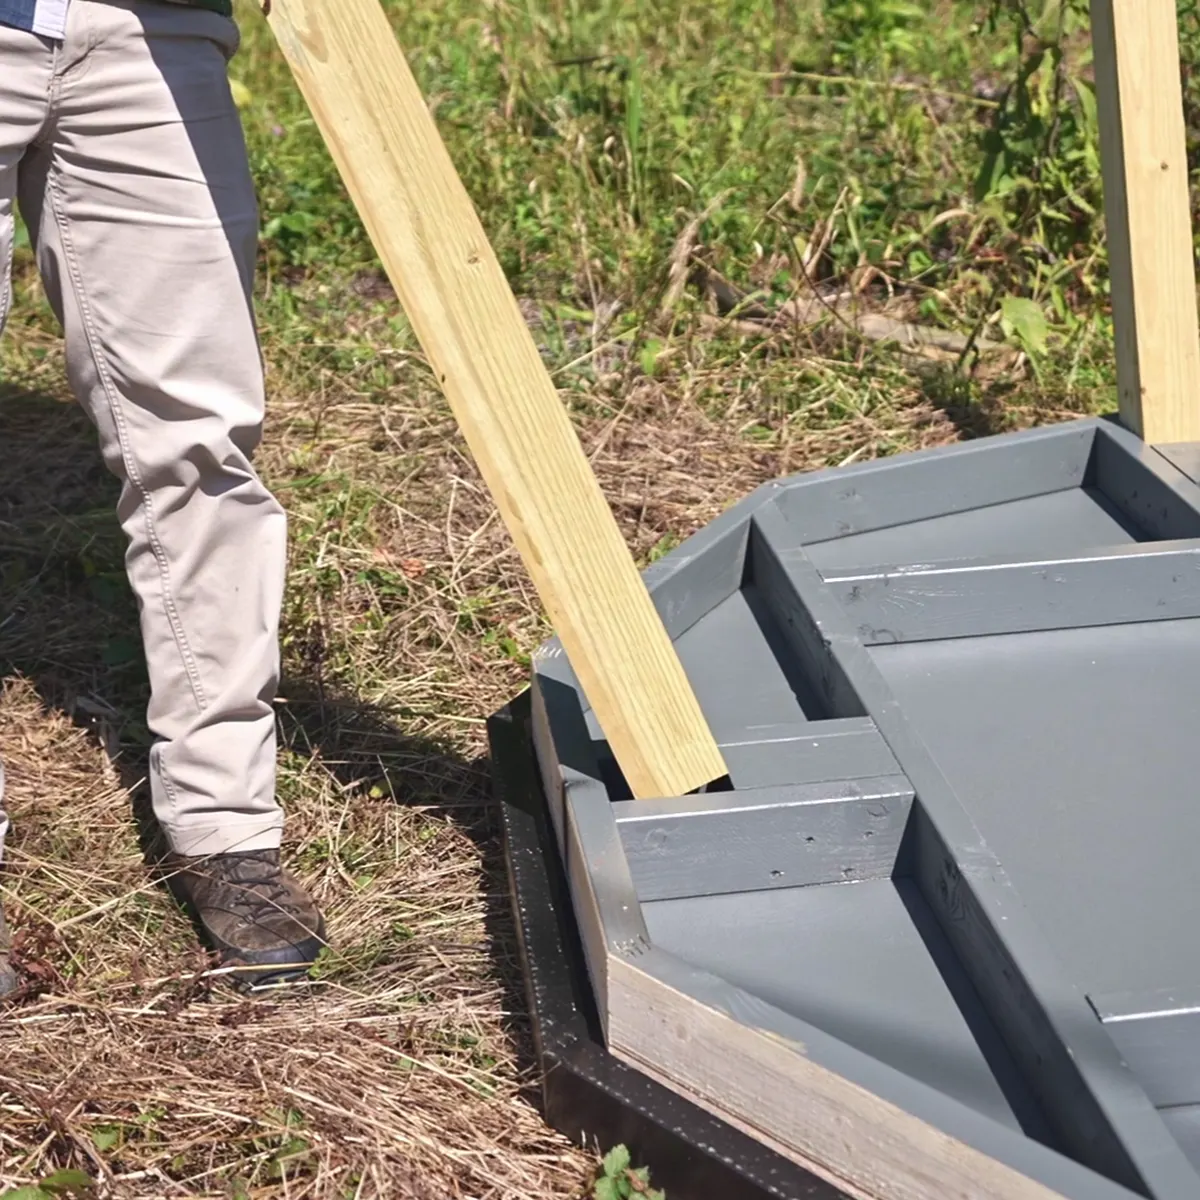
  1. Step 1 · Floor Bottom Side Up & Insert Posts

    Start by placing the floor bottom side up. Next, place the four 4×4 posts into the pockets, making sure that the posts are fully inserted into the pockets. Posts should be tight against the front and back of the pocket.

  2. Step 2 · Fasten with Supplied 4" Lag Screws

    Using the supplied 4" lag screws, fasten the posts to the floor, placing one lag screw into each side of each post.

  3. Step 3 · Prep Four Sets of 2×4 Bracing

    Prep four sets of cross-bracing by laying two 2×4s on top of each other, with the ends aligned. Measure from one end and place a 3" screw in the center of the 2×4s at the correct measurement per the factory chart below.

    Model Tower Height 2×4 Lumber Center Screw Mark
    6' & 7' Blinds 12' Tower 10' 2×4s @ 43 ½"
    6' & 7' Blinds 10' Tower 9' 2×4s @ 40 ½"
    6' & 7' Blinds 8' Tower 8' 2×4s @ 37 ½"
    5' Blinds 12' Tower 10' 2×4s @ 32"
    5' Blinds 10' Tower 9' 2×4s @ 30 ½"
    5' Blinds 8' Tower 8' 2×4s @ 29"
  4. Step 4 · Spread Into X-Shape & Fasten

    Spread the bracing into an X shape and fasten the bracing to the posts. The end that you measured from in Step 3 is the end nearest the floor. Brace all four sides in this manner.

  5. Step 5 · Turn Upright & Level Floor

    With the posts fully braced, turn the floor and tower right side up. Using a level, adjust the posts until the floor is leveled. Having your tower and floor leveled will make the remainder of the assembly significantly easier.

A pressure-treated 4x4 leg dropping into a post pocket.
Post pockets: 4×4 posts drop in tight against front and back. Fasten with supplied 4" lags.
Part 2 · Blind Assembly

Blind Assembly.
Steps 6 through 17.

Official factory sequence from first panel to roof installation, window tensioning, and door hardware.

  1. Step 6 · Attach First Panel Next to Door

    Attach the first panel to the floor. If you are assembling a side entry blind, start out with the panel next to the door panel, so that your last and final panel is the door.

  2. Step 7 · Center Framing on Floor

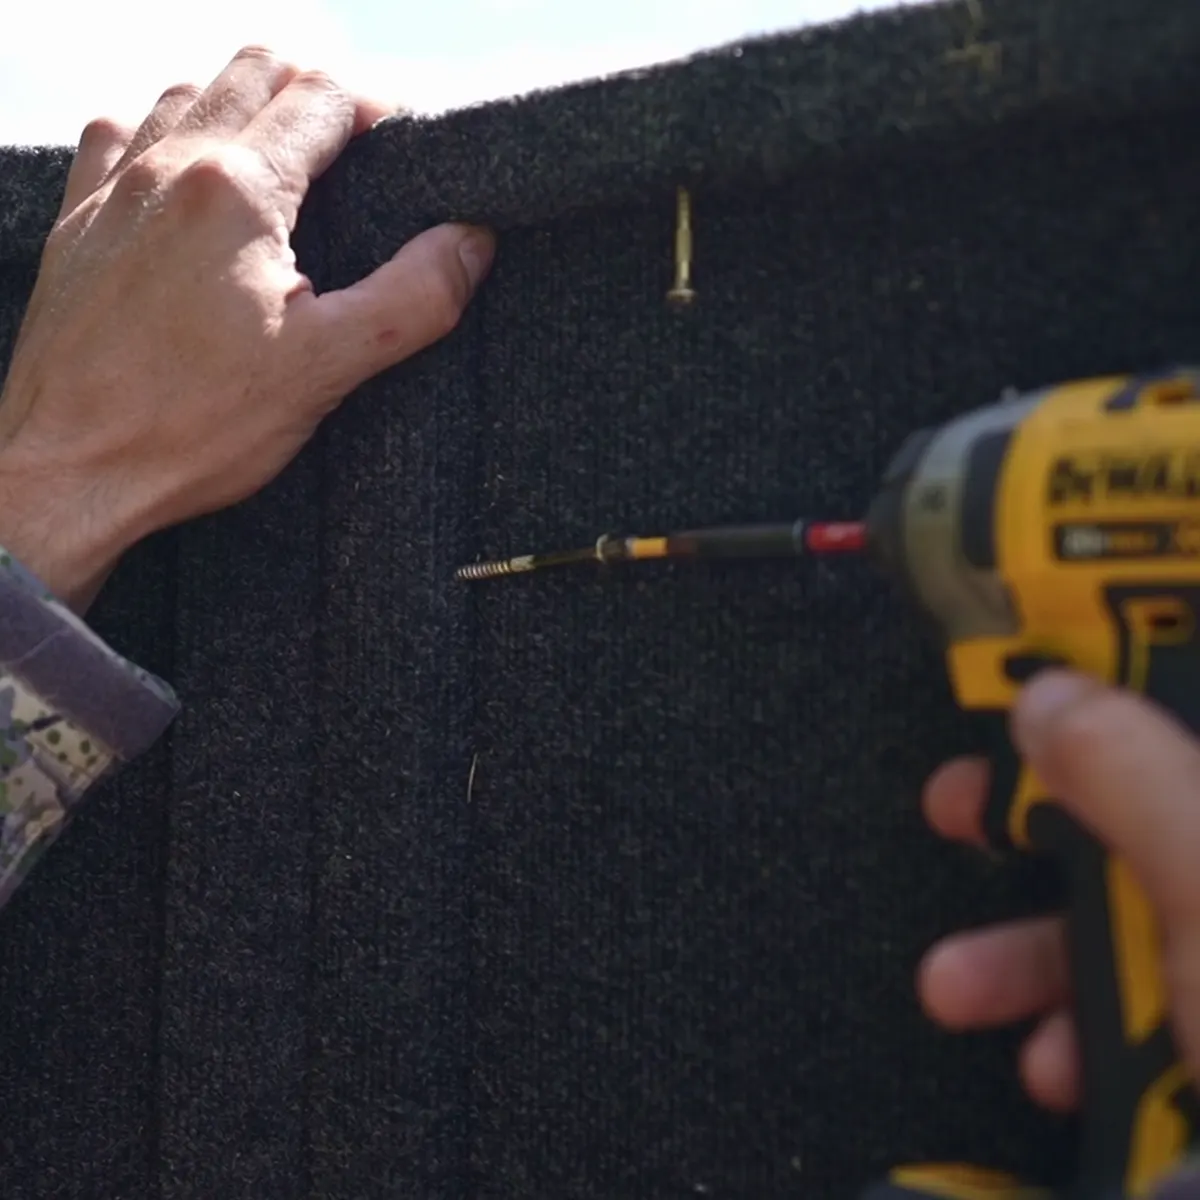
    Make sure the framing of the wall panel is centered on the framing of the floor. The floor framing is slightly larger than the framing of the wall panel, so it is important to start with this space evenly divided. Once centered, attach both floor screws.

  3. Step 8 · Align Tops & Outside Corners

    Continue adding wall panels by first aligning the tops of the two panels, and also the outside corners. Fasten the top wall screw, making sure that the outside corners (at the top of the panels) are nicely aligned.

  4. Step 9 · Set Leading Edge 1/16" Back

    Once the top screw is in place, place the leading edge of the panel (angled piece of framing) approximately 1/16" back from the outside corner of the floor framing. With the leading edge placed, and pulled in against the floor framing, attach the leading edge floor screw.

  5. Step 10 · Fasten Remaining Floor & Window Screws

    With the top and leading edge fastened together, make sure the bottom of the panel is pulled in against the floor, and fasten remaining floor screw. Next, align the outside corners at the top and bottom of the windows and attach the remaining two screws.

  6. Step 11 · Install Panels & Stage Roof

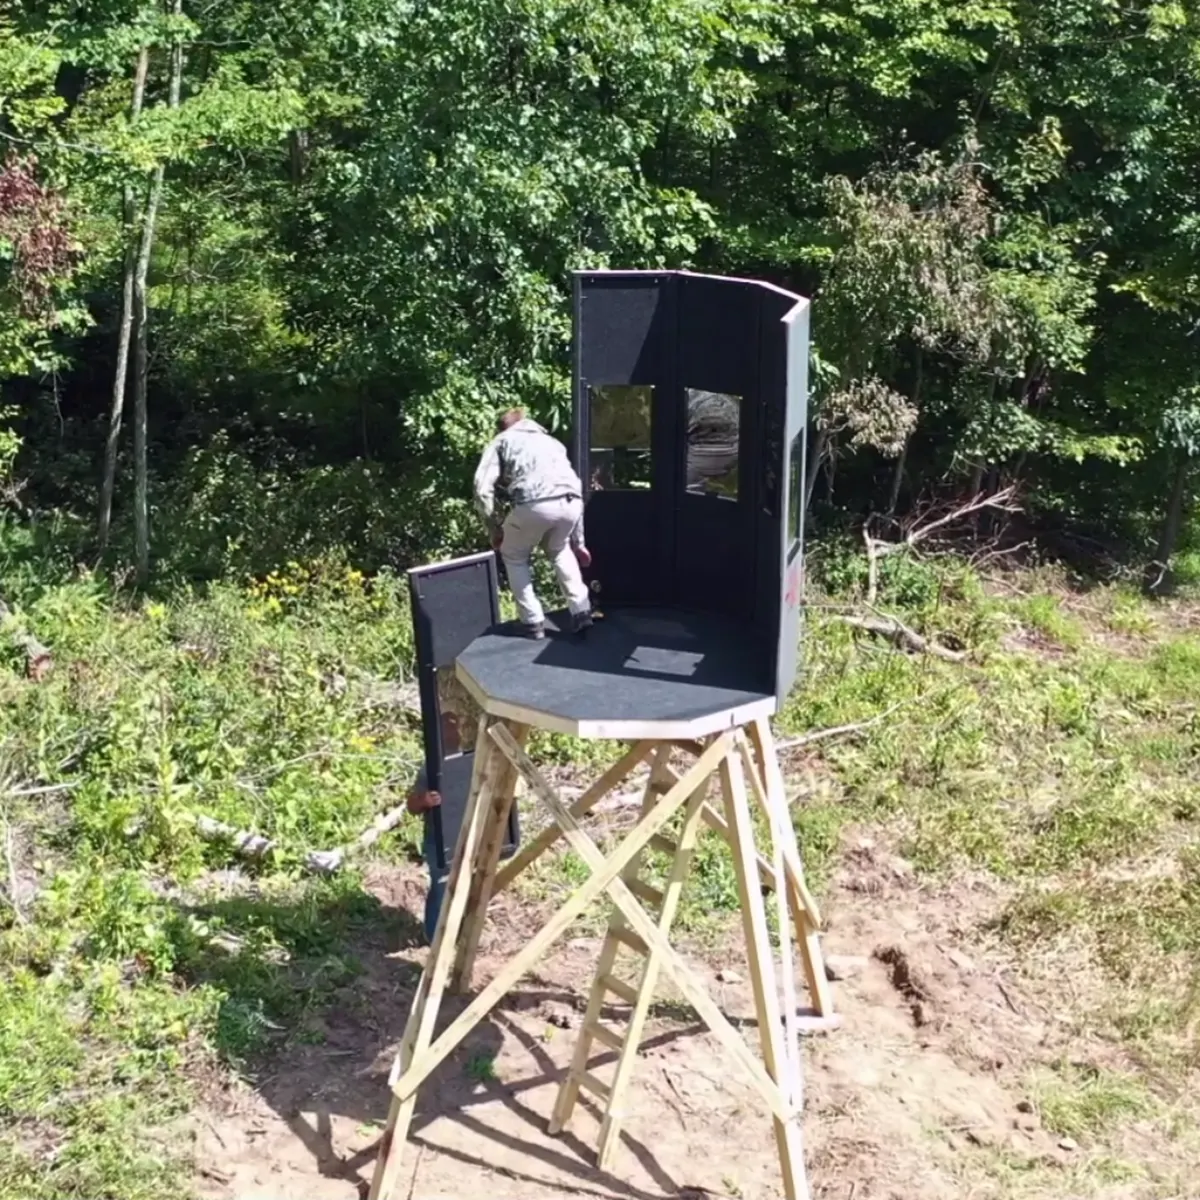
    Attach remaining panels, using Steps 8 – 10. Important: Before installing the last two panels, place the roof on top of the blind.

  7. Step 12 · Install Last Two Panels & Door

    With the roof on top of the blind, but behind where the remaining two panels will go, install the last of the panels. If you are installing a side door, add 4 screws on the left-hand side of the door.

  8. Step 13 · Align Opposite Roof Corners

    Attach the roof. Starting at one outside corner, align the inside corner of the roof lip with the outside corner of two panels, pushing the panels out against the lip of the roof. Once aligned, attach this corner with a single roof screw. Next, go to the opposite corner and repeat.

  9. Step 14 · Fasten Remaining Roof Screws

    Once the two opposite corners of the roof have been attached, go around and fasten the remaining roof screws, making sure you push each corner out against the lip of the roof. Having a small gap is not uncommon, and is completely fine.

  10. Step 15 · Attach Exterior Corner Trims

    Attach the corner trims. Using the supplied small black zip screws, attach the corner trims (screw both sides of the trim) to the side of the blind. Place screws approximately 6" from the top and bottom of the trims, and also even with the top and bottom of the windows.

  11. Step 16 · Install Lockable Door Latch

    Install the lockable door latch (Side Entry Blinds). Make sure that the exterior handle is in the downward position when the door is latched. This will prevent animals from accidentally unlatching the door if left unlocked.

  12. Step 17 · Adjust Window Sash Tension

    The final step is to add tension to the windows. Screw the nylon thumb screws into the threaded brackets at the top of each window. Tighten until there is just enough tension to prevent the window from closing on its own. This may need some additional adjustment throughout the seasons as temperatures change.

4x4 leg dropping into a floor post pocket.
Steps 1–5 · Post Pockets & 4" Lags
Fastening modular wall panel with pre-started screws.
Steps 6–10 · Wall Panel Alignment
Staging roof before installing last two panels.
Steps 11–14 · Roof Placement & Corners
Hunter entering a fully assembled NXTGen hunting blind.
Steps 15–17 · Trims, Latch & Windows
Before You Head Up The Hill

What you need
in the truck.

  • People2 (one to hold, one to drive)
  • Impact driverCharged, plus a spare battery
  • Driver bitsStar / square, matching your screws
  • Level4 ft carpenter level
  • TimeOne afternoon
Setting up a NXTGen blind in the field
Setup in progress · From crate to hunting
Customer Support

Need help or replacement parts?

We built it, we know every screw, and we are here to make sure your blind is 100% right for your hunt.

Direct Phone Support

Talk directly with our build team in Stoneboro, Pennsylvania. No call centers or automated loops.

(814) 795-9011

Replacement Parts & Inquiries

Need replacement windows, latches, weatherstripping, or tower bolts? Send us a quick note.

Request Parts & Support
4352 Sandy Lake Greenville Rd · Stoneboro, PA 16153 Read 10-Year Warranty